Why you need to remove a subfloor beneath a wall? How can I remove a subfloor beneath a wall? We have the instruction, step-by-step for you!
Taking out the subfloor when the wall is already in place can be challenging because the subfloor is stuck under the wall. It’s like trying to slide out a book nailed to the ground with someone standing on it – possible, but it requires effort and patience.
If you’d to only remove a portion of the subfloor to keep the wall intact, or to remove the subfloor along an entire wall, we have the how-to for you.
In this article, Brisbane Online News bring you about why you need to remove the subfloor beneath your wall and how to do it. Without further ado, let’s get into it.
Understanding Walls and Floors
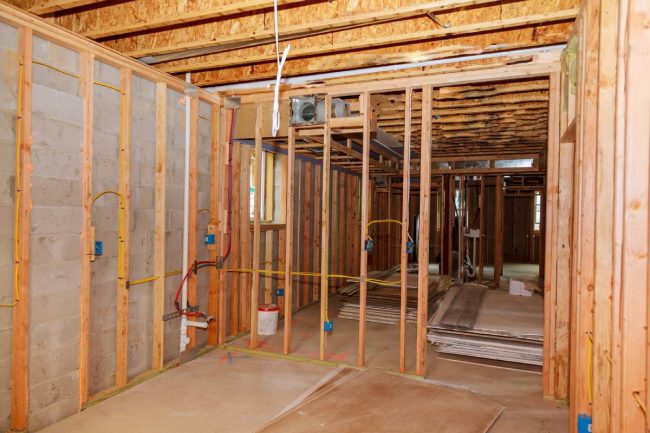
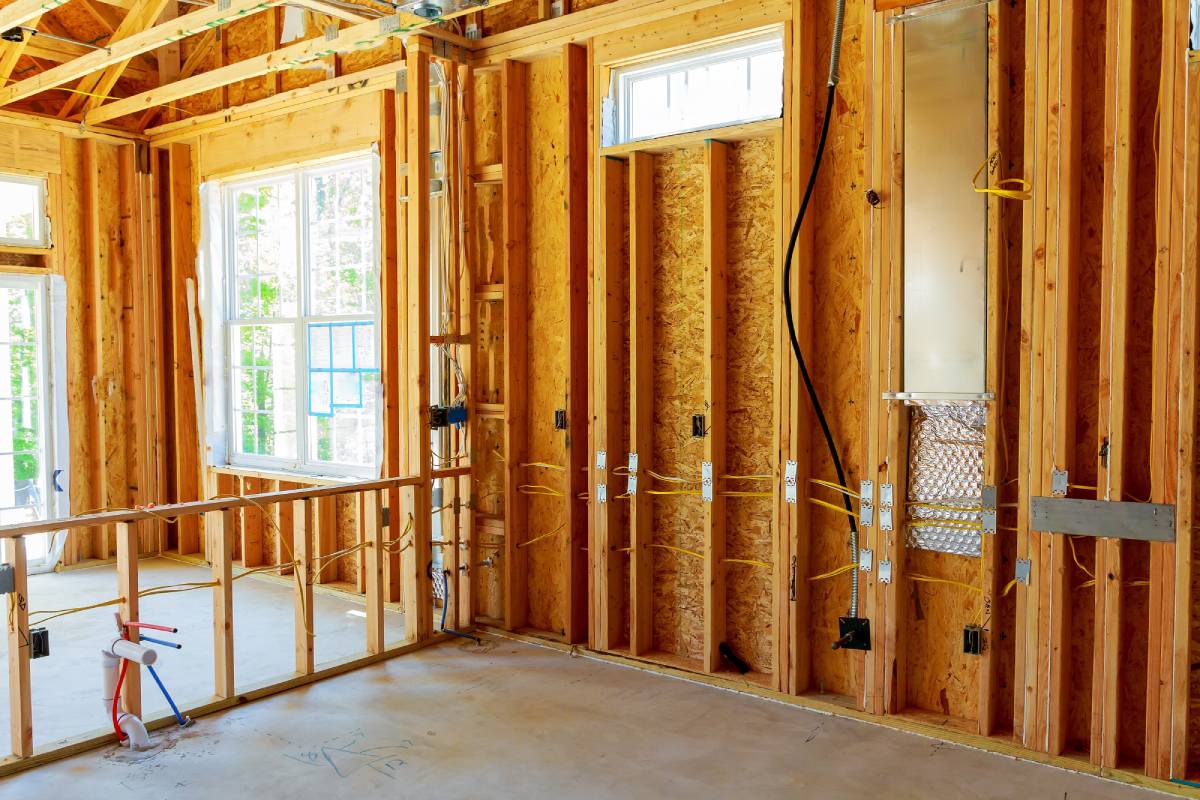
Walls and floors are closely connected, forming a structurally tight system. In a typical home, the setup from bottom to top looks like this:
- Joist: This is a long, horizontal piece of wood (usually 2×8 or 2×10 inches) that supports the flooring.
- Subfloor: Nailed to the top of the joist, the subfloor is often 19/32-inch to 1 1/8-inch thick plywood or OSB. It may run continuously across the joist or have two sections meeting on a joist.
- Underlayment: Some floors have a thin underlayment to smooth the subfloor for the floor covering. Not all floors have this.
- Floor Covering: This could be laminate flooring, vinyl tile, luxury vinyl plank, or any other floor type.
- Bottom Wall Plate: The bottom wall plate is the lowest part of the wall, usually an 8-foot-long, 2×4 piece. Wall studs are vertically nailed to it, and the wall plate itself is nailed (downward) into the subfloor, with nails extending into the joist. Everything, except the underlayment and floor covering, rests under and is nailed to the bottom wall plate.
Why You Need to Remove a Subfloor Beneath a Wall?
If your subfloor is damaged by pest/water or is no longer sturdy, you might need to replace it. The subfloor is a solid foundation beneath the floor that supports both the floor and walls in a room. While it’s not the main support (that’s the job of beams, posts, and joists), it plays a significant role. Replacing a subfloor can be a big project, but in some cases, you can remove parts of it without taking down the wall.
Taking out the subfloor when the wall is already in place can be challenging because the subfloor is stuck under the wall. It’s like trying to slide out a book nailed to the ground with someone standing on it – possible, but it requires effort and patience. If you want to keep the wall intact, you can only remove a portion of the subfloor. To remove the subfloor along an entire wall, you’ll have to take down the wall. A practical width to remove is 35 CM, representing the space between two joists or studs.
While it might seem tempting to replace the subfloor from underneath, especially if there’s basement access, it’s advisable to replace it from the top. Replace a water-damaged or structurally compromised subfloor by taking off the floor covering and underlayment, then cutting out the old subfloor and installing new material.
Preparation Steps
Before you start, turn off any circuits at the electric service panel that power the area where you’ll be working. Also, shut off any water lines affecting the area. If there are intermediate water shut-offs, use those; otherwise, turn off the water to the entire house at the main shut-off valve.

How Can I Remove a Subfloor Beneath a Wall?
Before we start, you need to check the equipment, these tools and materials are necessary for the step-by-step process for the next section:
- Flat Pry Bar: Used to remove the baseboard and quarter-round trim.
- Circular Saw: Adjusted to cut the subfloor, ensuring it doesn’t affect the materials below.
- Utility Knife: Employed to cut away sections of drywall and, if necessary, a foam or felt underlayment.
- Oscillating Multi-Tool and Metal Blade: Equipped to cut away nails under the wall bottom plate.
- Hand Saw: Used for additional cuts along the side of the square cut-out until reaching the wall’s bottom plate.
- Drill: Fitted with a 3/4-inch auger bit to drill underneath the wall bottom plate in case manual removal of the subfloor is challenging.
- Nail Puller: Utilised to remove nails as needed during the process.
Other Materials:
- Heavy-duty trash bags: To dispose of debris.
- Eye protection: Ensures safety during cutting and drilling activities.
- Ear protection: Protects against loud sounds, especially when using power tools.
Now that the tools are set, you are ready. Let’s get into the instruction, step-by-step:
- Remove the Baseboard: Gently use a flat pry bar to take off the baseboard and any quarter-round trim near the area where you want to replace the subfloor. Keep these pieces aside.
- Remove Sections of Drywall: Take out sections of drywall. If it extends over the floor covering, cut a section to the needed width and about 30 CM high. Dispose of the debris in a heavy-duty trash bag.
- Remove the Floor Covering: Lift off the floor covering directly above the subfloor you’re replacing. Remove a few extra inches for the workspace. Some coverings peel off easily, while others may need cutting. Laminate flooring and luxury vinyl plank flooring parallel to the wall should be lifted off. Self-adhesive vinyl tiles can be peeled, and sheet vinyl can be pulled back. Ceramic and porcelain tiles may require breaking, and the thin-set mortar should be chipped away. Solid hardwood and engineered wood flooring installed parallel to the wall can be pried off, though some boards may get damaged.
- Remove Any Underlayment: Some floors have a thin underlayment between the subfloor and the floor covering. For laminate flooring with foam or felt underlayment, cut a section with a utility knife. For a 1/4-inch luan underlayment board, set the circular saw at the correct depth to cut only into the luan without affecting the materials beneath it.
- Cut Away the Nails: Use an oscillating multi-tool with a metal-cutting blade. While wearing eye and hearing protection, turn on the tool and insert the blade under the wall bottom plate. Cut away all nails running downward from the bottom wall plate.
- Adjust the Circular Saw: Set the circular saw at the right depth to cut only the subfloor, avoiding any materials beneath it. Keep in mind that the saw won’t cut flush with the wall, so cut as close as possible—usually within an inch or two. Make two more cuts with a hand saw along the side of the square cut-out until you reach the wall’s bottom plate.
- Removing Subfloor Under the Wall: If the subfloor is significantly rotted, try pulling back the remaining section and removing it by hand. If not, attach a 3/4-inch auger bit to the drill and drill to a depth of 3 1/2 inches beneath the wall bottom plate on both sides of the rotted area. The auger bit acts like a saw to cut through the wood. If the subfloor edge rests on the joist, the section should come out; if not, proceed to the next step.
- Removing Subfloor From the Other Side (If Needed): If the subfloor is a continuous sheet extending beyond the wall, you can’t pull out the working section. Repeat the previous steps on the other side of the wall to free up the subfloor for removal.
- Calling a Professional When Needed: If replacing the entire subfloor under an exterior or load-bearing wall, consider hiring a professional. Special precautions are necessary to prevent sagging or instability in the walls when the subfloor is not supporting them. Smaller subfloor sections—up to around 14 inches wide between joists—can be cut and replaced without additional support.
The Takeaway
That’s about it! Replacing a subfloor under a wall is a step-by-step process that requires specific tools and materials. From removing baseboards to cutting the subfloor and handling different floor coverings, each task is important.
Safety is never less important, so wearing eye and ear protection is a must. Some tasks, like cutting the subfloor, might be challenging, but having the right tools can make it easier. If the subfloor is severely damaged, especially under exterior or load-bearing walls, it’s advisable to consider professional help.
May the (sub)floor be with you!
